Friday, February 10, 2012

Oven Roasted Tomato Crostini...and with Rigatoni

When you have a beautiful loaf of homemade bread, and red ripe tomatoes, what could be better, than a "fresh bruschetta topped" or an Oven Roasted (fresh) Tomato Crostini? ...knowing that you have the best extra virgin olive oil, and chopped garlic, and have a batch of fresh basil, you're all set! You don't even need to waste electricity to roast them in your big oven. Your handy toaster oven will do the job for you!
This past week has not been a very successful one, as far as cooking, or baking from my Weight Watchers cookbook...simply, because of last weekend which was the NFL Super Bowl weekend! Missed my WW meeting, didn't keep track of my points, only knowing by now, how much points each item has, that I eat. For instance, one crostini with the roasted tomato topping is 5 points, which is not a lot, but having 2 of these, you're up to 10 points, granted it's very, delicious, and a satisfying snack, but I literally had this for lunch, which was OK. The worst part of the weekend, was, the Super Bowl Sunday, not because I ate too much...it's what I ate. BBQ ribs, twice baked potato, pasta with clams, and for dessert, a slice of Tiramisu! That means, the next following days, I gained back 2 lbs. so now, I'm 3 lbs away from my goal of the 10 lbs loss...sad, but true! Although I hit the gym again...just have to get back to my routine, and stay with the program.
"Kill two birds with one stone" Roasted Tomato Crostini, and Roasted Tomato Rigatoni


Oven Roasted Tomato Crostini
my own recipe

4 to 6 medium ripe tomatoes, or
6 to 8 ripe Roma tomatoes
halved, and cut into quarters
salt and pepper to taste
dried herbs, such as basil, oregano, thyme
2 to 4Tbsp extra virgin olive oil
chopped garlic (optional)


(I didn't add the chopped garlic when roasting tomatoes, I added it to the crostini. You can add it when roasting tomatoes)


Line a small baking pan with aluminum foil, (dull side up)
Place your tomato pieces, and sprinkle with the salt, pepper and spices, and drizzle the extra virgin olive oil on them. Bake in a 375 F. degree oven, for about 45 minutes.

(I used a toaster oven, so simple, and less space used, easier clean-up, and saves electricity)


This is how they will look like after 45 minutes. Almost all of the oil soaked up, just the perfect texture, and incredible sweet flavor. Not using the garlic while you roast them gives them the true sweet flavor. Garlic tends to overpower them while roasting. Use garlic afterwards, if you like, according to taste!


All you do afterwards is, set the tomatoes in a dish with a rim, or in a small bowl, add a little more extra virgin olive oil, adjust seasoning. You can add fresh chopped herbs at this time, and a touch of balsamic vinegar if you like.


I also added some to cooked rigatoni pasta, with some of my leftover chickpeas, and shaved Parmigiana cheese!
It was the best topping for a simple, healthy and delicious pasta, I could think of at the moment:DDD
Points value for the pasta: 7 points


For the Crostini:

Chop  a few cloves of garlic, place them in a small ramekin, add about 1/4 cup extra virgin olive oil to it, and you have a nice garlic spread. Spread some of that lightly on a nice thin slice of crusty bread, spoon some of the roasted tomatoes on, and on a 350 F aluminum foil lined baking sheet, bake for about 10-12 minutes. Roll about 3 fresh basil leaves, and cut them into thin slices (chiffonade) ...scatter them on top, just before serving. You can also add shaved Parmigiana on the crostini, as well.
Do not add the basil when baking the crostini, or it will darken or burn!


This is the most difficult part...paying forward the awards! Not just because of the length of time it takes, to link it to the blogger you want to give it to, but because I do feel everyone deserves it...but knowing that, if I should mention, as a lot of others have mentioned in the past. Please feel free to accept it, and keep it, or pass it on, BUT...there's a catch to that. You don't see you name on the list, and you say to yourself..."hmmm, why should I bother with this?...my name isn't on the list!" I've had that happen to me quite a few times, and almost thinking..."no, I can't take this award, it wasn't meant for me!"...and so, it goes!

This time, I'm doing this differently...very differently!The persons that have mentioned the award...and I know all of you have noticed it, but did not mention...no problem! Can't mention every little detail; but those of you, who did...other than the bloggers that the award came from, you will be awarded this award, and ...thereafter, who comments on it, as well...any blogger that would like to grab it, and pay it forward! As long as you can read Hungarian, or Russian
No Rules apply...just please accept it with my BEST WISHES, and BIG HUGS!...pass it on to as few, or as many as you would like to, just be sure to link it...(good luck with that one...you'll be linking for hours if you do 10)

Congratulations, on the well deserved award:DDD
According to the comments on my previous post, in their order:


Kathy @ Bakeaway With Me
Jill @ Dulce Dough
Marsha @ The Harried Cook
Amelia @ Amelia's De-sserts
Christine @ Christine's Pantry
Maria, and Xara @ Cookendfeed
Ping @ Ping's Pickings
Erzsebet @ Troll a Konyhámban
Lizzy @ That Skinny Chick Can Bake!!!
Nancy @ Kitchen Gypsies


Enhanced by Zemanta

Tuesday, February 7, 2012

Rye Bread...and Awards

If you can believe it, this is my first rye bread that I have ever made...(I have made white, and whole wheat in a simple loaf pan, but not rye...and not free-form.)...thanks to finding rye flour at Whole Foods Market. They have everything there, that are healthy, organic, and totally good for you. I can spend hours there, when I shop, going down on each and every isle, and have a nice and healthy self-serve lunch there, as well.
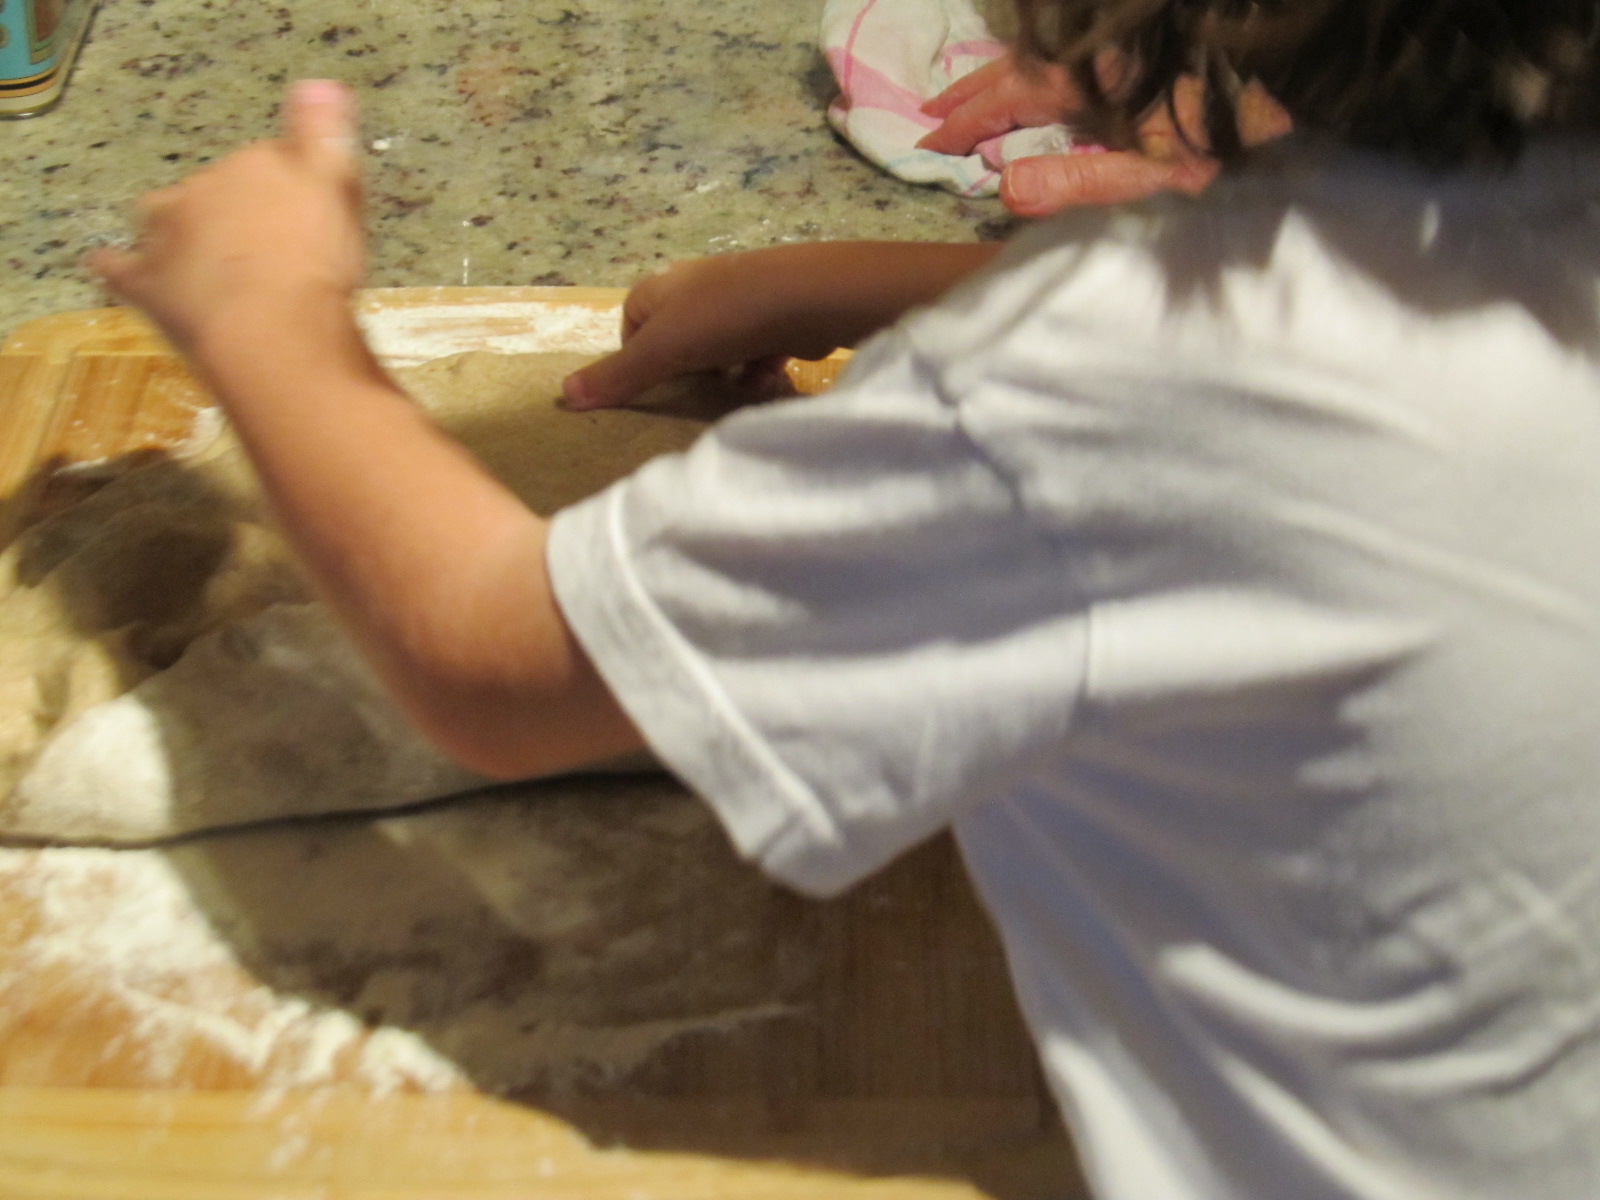
The crust of this Rustic Rye Bread is so incredibly crunchy, and the flavor just blows you away! I made a long loaf and a round loaf with the recipe, it was really such a pleasure to get your hands on these loaves, and let the bread machine do the heavy kneading, but I did get help from my little grandson Luca. He volunteered to help, and both of us loved every minute of this fabulous bread making.

The recipe comes from a 1987 Fanny Farmer Cookbook, nothing fancy, no photos, just drawing illustrations.The ever famous James Beard has a great introduction about the book. Fanny Farmer...actually, that was her real name, had a cooking school in Boston, in the early 1900, and her first cookbook was published in 1896, the Boston Cooking-School Cookbook. She died in 1915, but her legacy has been carried on for over a century, and copies have been coming out, each time with new revised editions. This edition is also a revised edition, and the latest edition is a 2010 edition. Every cook in America should know about Fanny Farmer, and her contribution to the American Cuisine! Just a little history, to get you acquainted with!...Now, let's get on to the recipe!

Rye Bread
from the Fannie Farmer Cookbook

1 cup (1/4 L) milk
2 Tablespoon shortening
2 Tablespoon dark-brown sugar
1 Tablespoon salt
2 packages dry yeast
3 cups (420 g.) rye flour
3 cups (420 g.) white flour

Bring 1 cup water to a boil, mix it with the milk, shortening, sugar and salt in a large bowl, and let cool to lukewarm. Measure 1/2 cup warm water in a separate container, stir in yeast, and let it stand for 5 minutes to dissolve. Add the dissolved yeast to the rye flour to the first mixture, and combine thoroughly. . Add enough of the white flour, so that you can handle the dough. Turn out onto a lightly floured board, knead for a minute or two, then let rest, for 10 minutes. Resume kneading for about 10 minutes, adding the remaining flour as necessary.

(I did all the previous steps, by adding everything into the bread machine container, and set the dial on to the "dough setting" to do the kneading.)

Put the dough in a greased bowl, cover, and let rise in a warm place, until almost double in bulk.


(Now here's the fun part, my little helper waiting, in the sidelines on his favorite stool... and ready to punch down the dough)


Punch down and shape into two loaves. Place in greased loaf pans, ( I made two free-form loaves) and let rise until double in bulk. Preheat oven to 375 F. degrees
(190 C.)

Bake bread for 45-50 minutes. Remove from pans and cool on rack.


For a free-form shaped bread, fold over each side, as in making the dough for flaky biscuits.


Priceless little "angelic" helping hands folding over both sides of the dough!


Shaping the dough into a round loaf...making sure the ends are tucked in and sealed, so bread will not open up and fall apart when baking.


Such happy memories will result from bread making with little ones. (both of us shaping, and sealing the bottom of the dough)


One rectangle, and one round loaf. Place on parchment lined baking sheet, and let it rise again, until larger (not necessarily doubled)


Now, you can rub a little more flour on top, and slash the tops lightly with a sharp knife, to give it a rustic design, and follow the direction for baking.


...and the finished result! My grandchildren ate at least 2 slices of this amazing bread, while it was still warm. My grandson was so proud of himself for helping, he even had another slice for breakfast, the following morning!

Get your kids help you in the kitchen with baking, whenever they get interested...which might be more often than you think. So much fun, so many fond memories:DDD


For points value, I did the math on my little handy WW points tracker. 3 points for 1 slice of bread.
(I ate 2 slices)

Linking to: Full Plate Thursday, @ Miz Helen's Country Cottage
                Thursday Favorite Things Blog Hop, @ Katherines Corner


I am so honored to receive this beautiful unique award, called the Magyarok Asztala= Hungarians' Table from a Hungarian food blogger friend, Petra, @ Reformkori Konyha  and also from Eszter @ Borsodi Eszter Blogja.
I do want to reveal the originality of the beautiful Award, which was at an actual dinner event, in Hungary, photographed by Katalin @ Katalin Konyhája and designed by her, as well!
Thank you so much, I will pay it forward as soon as I can!

Here's another award, which I received from Csilla @ Csilla Konyhája, another talented cook, and baker... and also from Petra. This cute little bear and the happy sunshine, is so adorable, I could not tell you what these words mean...it's in Russian. I wish I knew where this cute one originated from, so I could mention them!
Thank you Csilla, and thank you Petra, for honoring me with this adorable award!

Petra is featured in the KIFŐZTÜK  Hungarian food magazine, that posts photos and recipes from food bloggers. She makes amazing dishes and desserts and several of her recipes with the photos are featured in the magazine. Now, why can't we get a cooking magazine like that, published? What a wonderful way of getting one's food blog in a special magazine!

Enhanced by Zemanta

Tuesday, January 31, 2012

Hot-and Spicy Chickpea Cakes with Pico de Gallo...and Guest Post

Hot-and Spicy Chickpea Cakes with Pico de Gallo from Weight Watchers New Complete Cookbook


I am so honored to guest post for my dear friend Swathi, @Zesty South Indian Kitchen... who at this time, needs all the rest she can get. Glad to know she also has a few other blogger friends that will guest post for her, while she is recuperating. She needs a lot of "mommy and me" time at this very fragile first few months!

I am so thrilled to celebrate the birth of Swathi's little prince...Nikhil! A beautiful, and healthy baby boy! Such a perfect addition to the happy family, and a pride and joy to his big sister, Nidhi.
Swathi dear, I just want you to know, that I wish you and your precious baby all the best of health, and happiness. Congratulations to you, your hubby, and princess Nidhi!
May you, enjoy your new bundle of joy!


This dish is one of may favorite dishes to have for lunch, and for the Pico de Gallo, it's zero points so, healthy, spicy, colorful and delicious! I will be back to add more good news, but in the meantime...here's an easy way to cut the veggies perfect!

Linking to: Full Plate Thursday, @Miz Helen's Country Cottage


just click over to: Swathi's blog  to get the recipe!
 
Thank you Swathi, for giving me the opportunity to guest post for you, again!


Enhanced by Zemanta

Saturday, January 28, 2012

Smoky Manhattan-Style Clam Chowder...


Still going strong with Weight Watchers and their amazing recipes from the Weight Watchers New Complete Cookbook. Also received another one from a friend, called Weight Watchers One Pot Cookbook. I can hardly wait to check out some of the delicious recipes. I actually signed up for the meetings...only, because a lot has changed in the program in the last few years, and it's a different point system now. As far as the weight loss, I'm still at 7 lbs of my weight loss, but I do splurge at least once a week, where I don't even try to count the points because it would totally fall off the points track. As you can see, that really does make a difference when you are trying to lose weight!
If you like clams, then you will most likely love Manhattan Clam Chowder. So light, rich, yet oh, so satisfying, and it's actually a Weight Watchers recipe, that I barely altered. The only difference was, that I added a dry chipotle pepper, that I soaked in boiling water, to give it the smoky taste, instead of using fire roasted diced tomatoes. Chipotle has more of a smoky flavor than fired roasted tomatoes would. I must confess, that I'm totally enjoying this new program, and are looking forward to each day with so much enthusiasm to plan a different meal every day, knowing that it's so flavorful, and healthy with lots of fresh vegetables that can be made so many ways. Just look at the robust color, texture and flavor of this gorgeous Manhattan Clam Chowder. I'm so happy to share the recipe with you.

Linking to: Cookbook Sundays @couscous-consciousness


Smoky Manhattan-Style Clam Chowder
adapted from: Weight Watchers Complete Cookbook

2 teaspoons olive oil
(I used 1 Tbsp.)
1 onion chopped
1 large garlic clove minced
1 (1/2 pound) all-purpose potato, peeled, and  cut into 1/2 inch dice (I used 2 large potatoes)
1 small zucchini diced (I omitted it)
1 carrot diced (I added 3)
1 (14 1/2 ounce) can fire-roasted diced tomatoes)
(I added 2 cans of diced regular tomatoes)
1 bay leaf
(1 chipotle pepper)
2 (8 ounce bottles)clam juice
( I used one bottle)
1/2 cup of water
(I used 2 cups of water with 1 Tbsp vegetable base, boiled in the microwave)
1/2 teaspoon dried oregano (I used 1 teaspoon)
1/8 teaspoon black pepper (I used 1/2 teaspoon)
1 (6 ounce can chopped clams (I used 2 cans of chopped clams)

Soak the dried chipotle pepper, after you have boiled it. Let it soak until soft. Cut in half, and clean the seeds out, and cut pepper into small pieces to add to the chowder.
It's optional, you don't have to use it, if you are using fire roasted diced tomatoes.


Heat the oil in a large pot, over medium heat. Add onion and garlic; cook stirring until onion is softened, about 5 minutes. Add celery, carrots, and zucchini (if you're using it) and saute for another 5 minutes. Add the oregano, pepper, and stir through.


Add the tomatoes with their juice, the clam juice, the water, the bay leaf, the chipotle pepper, diced, and bring to a boil. Reduce heat, and simmer partially cover, for about 25 minutes.


Add the clams with their juice, and cook, just until heated through, about 2 minutes. Do not boil, or the clams will toughen.
8 servings
PointsPlus value:4


Enhanced by Zemanta

Tuesday, January 24, 2012

Chocolate Buttermilk Bundt Cake...

Just wanted to let you know that I'm back on track with my Weight Watchers recipes...and yes, this light and simple Chocolate Bundt Cake is from my Weight Watchers New Complete Cookbook. Surprised?...you shouldn't be. It's only 4 points per serving, unlike the the little Pogácsa (biscuits) which I made, had at least 2 points per serving...and you just can't stop at eating one piece.We're on a new track now...still lost 1 additional lb. when I thought I gained some of the weight back...exercise does help!

On a lighter note...as in weight wise, and otherwise, I am staying on the Weight Watchers program and will be featuring mostly, my Weight Watchers' recipes, even for my Guest Post, which I am so excited about! For my Chocolate Bundt Cake recipe,  click over...check it out!

Linking to: http://mizhelenscountrycottage.blogspot.com/ 
                   http://katherinescorner.com/


Chocolate Buttermilk Bundt Cake
from: Weight Watchers New Complete Cookbook
2011 edition


2 cups all-purpose flour
1 1/4 cups sugar
2 teaspoons baking powder
1 teaspoon baking soda
1/2 teaspoon salt
1/2 cup unsweetened cocoa
1 ounce semisweet chocolate, finely chopped
1/2 cup boiling water
1 cup low-fat buttermilk
1/3 cup canola oil
1 large egg
1 large egg white
1 Tbsp. vanilla extract
3/4 cup mini chocolate chips

Preheat oven to 325 degrees F. Spray a 10 inch Bundt pan with nonstick cooking spray.
Whisk together flour, sugar, baking powder, baking soda, and salt in medium bowl.
Combine cocoa and chopped chocolate in small bowl. Pour boiling water over cocoa mixture, stirring
until chocolate is melted.
Whisk together buttermilk, oil, egg, egg white, and vanilla in large bowl; stir in cocoa mixture. Add flour,
mixture, stirring just until no longer visible. Stir in chocolate chips. Pour batter into prepared pan.
Bake until toothpick inserted into center of cake comes out clean, 45-50 minutes. Let cool in pan on wire
rack 10 minutes. Invert and remove pan. Let cool completely. Serves 24 slices
Points Plus value: 4

note: You can substitute low-fat buttermilk, by making your own.
To a 1 cup glass measuring cup, add 1/4 cup of distilled white vinegar, and fill to 1 cup, low-fat milk.
Do not stir, just leave for a few minutes and it will get thick, just like buttermilk...only cheaper, and just as good!

Gong Xi Fa Cai...Happy Chinese New Year...The year of the Dragon!

Enhanced by Zemanta

Saturday, January 21, 2012

Töpörtyüs Pogácsa-Hungarian (crackling) Biscuits


This is a difficult emotional task for me...I have actually made my Hungarian tepertős...or töpörtyüs pogácsa...a savory bacon bits biscuits...strictly Hungarian style, that is from my childhood!...one caution! Do not attempt to make this, unless you want a real challenge, or it's a childhood memory recall!...It's a huge challenge, and takes about 4 to 5 hours of folding, resting, rolling out the dough at least 3 times. I did have a Weight Watchers recipe for you (will have to post it next time)...made a delicious Manhattan Clam Chowder, which was in the cookbook.

I actually made a batch and scored the top...but when I baked it it had a "mind of its own" but all is well, they are incredibly delicious! 

As you can see...these biscuits turned out so flaky, savory, and delicious. A lot of work, but they were worth every minute of it!


Hungarian Pogacsa with pork cracklings ...Töpörtyus Pogácsa
adapted from: three different sources

4 1/2 cups flour
1/2 cup cold butter
1 teaspoon salt
2 Tbsp dry instant yeast
2 cups finely chopped töpörtyü,
 or crispy bacon
2 eggs, beaten with a fork
1-2 cup white wine
1 1/4 cups  Greek style yogurt
(I used Chobani)
1 egg
2 whole eggs beaten, for brushing

Make the the töpörtyü first. You will need 2 lbs for this recipe.(Click on the link) You can refrigerate them for a few days, and when you are ready to use them, chop them fine. Better yet, chop them in the food processor
 (which I will do next time)


In a large bowl, add the 4 1/2 cup flour. Add 1/2 cup of warm water in a cup and add the 2Tbsp dry yeast to desolve and bubble up as in photo.


Cut the butter in small pieces and add it to the flour, along with the salt, and mix with a pastry blender


Add the yeast and mix it into the flour, with a wooden spoon.


In a small bowl, mix the yogurt with the egg, and the 1/2 cup white wine, and add that as well to the flour mixture.


Now, here comes the fun part...you get to mix all these ingredients with your hands until they combine, and work it well together


On a floured board, or clean counter, knead the dough several times until nice and elastic and not sticking to the board.


Place in an oiled bowl, turn over, and cover the bowl with plastic wrap, an place a clean towel on it. Let the dough rest for 30 minutes.


After the 30 minutes rest, roll out the dough as thin as possible, and scatter half the cracklings on it.


Now, fold over carefully envelope style, from the left, the right, and from each end to enclose.


It should look like a square, all 4 sides enclosed.


Cover with a clean dishtowel, and let it rest for about 20 minutes.


Roll the dough out again, into a 12 x 9 inches form, from and follow the same procedure, by sprinkling the second half of the cracklings on it, and fold up again, and let it rest for another 20 minutes.

(Aren't you tired yet, from just following these procedures?) Well, like I said, you need about 4 to 5 hrs. work on this, but so well worth it.


Score the dough with a sharp knife but careful not to cut through the dough. (this is where I messed up, scoring it too deep) Brush half the amount of the egg wash on it.


Cut out rounds, with a small biscuit cutter. (As you can see I messed up my nice pattern when I brushed it with the egg wash, so the scoring is not uniform) If I recall, my mother used to brush the biscuits with the egg wash, carefully, and separately. Will have to improve on the the next time.


You can re-roll the scrap dough and start again, cutting them out. The second time, I did not score the tops.


Place the pogácsa (biscuits) on a parchment lined baking sheet, let them rest uncovered for 20 minutes...bake in a preheated 425 degrees F oven for about 15-18 minutes, until it gets nice and golden brown on the top.


I'm really not happy the way the scored top turned out, but they are all light, crispy on the top, and bottom, and oh, so delicious. Eat them as snacks, of with a nice bowl of soup, or as a bread substitute with any meal. Well worth all the effort and work you put into it!
I ended up with about 4 dozen of these small treasures. Serve them while they are warm, or at room temperature.

Note:If you have leftovers, freeze them in a plastic container, and re-heat them in a 325 degrees F. oven for a few minutes, and they will be just as fresh as they were on the day you baked them...maybe even better!
Enhanced by Zemanta