Thursday, March 29, 2018

Grilled Lamb Chops with Tomato, Mint, and Garlic Sauce

I don't know how you feel about grilling on an outdoor barbecue grill whether it may be a simple charcoal grill or, a fabulous spacious gas grill that just with one click of the starter button, it lights instantly...just stay away from the fire and not let your hair catch on fire...lol!

Grilling is not just for men...your hubbies are not always the 'grill masters'! When you watch those cooking shows you can see how many women are quite competent in the grilling contest against the men and win! Well, this is not a grilling or cooking contest post, I'm getting way too off from the subject!
If you're a 'meat lover' and like grilled meats, these succulent 'bone in' lamb chops are perfect and easy grilling, once they have been properly marinated for at least 30 minutes in a simple drizzle of extra virgin olive oil, salt and pepper...ready to grill!

I do recommend the delicious Tomato, Mint, and Garlic Sauce to go along with it. Easter is around the corner this Sunday and if weather permits just get out to enjoy the beautiful Spring weather, and light up your grill. There are other enjoyable side dishes to grill along with the lamb, and have yourself a fun and blessed day!

Grilled Lamb Chops with Tomato, Mint and 
Garlic Sauce

recipe ispired by; William-Sonoma

  • 8 thick-cut bone-in lamb loin chops, each 1 1/2
     inches thick, 2 to 2 1/2 lb. total weight
  • Extra-virgin olive oil for coating, plus 1 Tbs.
  • Kosher salt and freshly ground pepper,
     to taste
  • 2 Tbs. chopped fresh flat-leaf parsley
  • 2 Tbs. chopped fresh basil

For the sauce:

  • 1 Tbs. extra-virgin olive oil
  • 1 small shallot, minced
  • 2 garlic cloves, minced
  • 3 tomatoes, peeled, seeded and coarsely
     chopped
  • 2 Tablespoons balsamic vinegar
  • Kosher salt and freshly ground pepper, to taste
  • 6 to 8 fresh basil leaves, cut into narrow strips
  • 6 to 8 fresh mint leaves, cut into narrow strips
  • 1/4 cup dry red wine

  •  In a small saucepan over medium-low heat, warm the olive oil. Add the shallot and sauté until softened, 3 to 4 minutes. Add the garlic and cook for 1 minute. Increase the heat to medium-high, add the tomatoes and cook, stirring frequently, until the tomatoes soften and release their liquid, 3 to 4 minutes. 
  • Add the wine and vinegar ,season with salt and pepper. Cook until flavors have incorporated, 3 to 4 minutes. Remove from the heat, stir in the basil and mint, and set aside until the lamb chops are roasted.

Chops cut from the loin are the most costly of the various types of lamb chops, but they are also the tastiest and most tender. This recipe calls for double loin chops, which are simply cut twice as thick as a typical loin chop. While the chops are resting, a quick pan sauce of tomatoes, garlic, basil and mint that will be drizzled over them at once it is served. Roasted potatoes on the side, couscous or Basmati rice would round out the plate.

Light up your outdoor gill on high and let it heat up for about 10 minutes. Place the lamb chops on the hot and high grill and sear for 2 minutes. Turn the chops and sear for 1 minute on the other side. Immediately turn the grill temperature down to medium and grill the lamb until an instant-read thermometer inserted into the thickest part of the meat, away from the bone, registers 125° to 130°F for medium-rare, 5 to 6 minutes. 

Remove the pan from the grill, and transfer the chops to a warmed platter and cover loosely with aluminum foil. Let rest for a few minutes and add the  accumulated juices to the sauce.


Divide the chops among warmed plates. Divide the sauce evenly among them, spooning it over the top. Serve immediately. Serves 4.

Linking to:
Full Plate Thursday #373


Wednesday, March 21, 2018

Roasted, Corned Beef and Cabbage

St. Patrick's Day has come and gone now, and before you know it, Easter will be coming sooner than we think. Already Spring has 'sprung'...only to find out that some parts north of us are still dealing with snow storms...how dreadful! I must share this amazing new way of making Corned Beef and Cabbage...Do Not Boil...seriously, even if the package says so!

I didn't have to google this recipe of mine...just practice, and the common sense of how to roast meats! Here are all the ingredients, that I already love to roast, or bake...but roasting is more appropriate, in fact on the newer models of the stoves there is an option for actual 'roast' selection and do take advantage of it if you can...if you don't have that option, a higher temperature of 425 degrees is the ideal temperature to use for the first 25 minutes will be a great help!


This is how it looks after the first 25 minutes on 425, plus an additional 30 minutes on 350 degrees temperature...but we're still not done roasting yet! As you can see, I even cut a nice chunk of the the corned beef off to sample for my sweet grandson who could not wait to enjoy this feast...still not quite done.


Accompanied by Gold Smashed Potatoes, (no dairy)...just some of the cooking water, and the pan juices used to smash them!d not so tender!


Irish Soda Bread is a must have for St. Patrick's Day, and I must admit this was a perfect combination...half of the bread was gone before the roast was even served. My daughter Lora made the bread this year, and with the raisins which we love so much...it is called the 'Spotted Dog'...what a cute, and odd name for Irish Soda Bread! Link to my daughter's recipe...on Savoring Italy

Irish Soda Bread=Spotted Dog

Before I even go any further, I'm gonna share my recipe with you for the Roasted Corned Beef and Cabbage!

Roasted Corned Beef and Cabbage
source: by, Elisabeth

1- 3 to 3 and 1/2 lbs. Round Beef (with spices inc. in packet)
1 head of Cabbage quartered and core removed
1 or 2 sweet potatoes peeled and quartered
3 stalks of large carrots scraped
1 large sweet onion peeled, and cut in quarters
1 head of garlic with top cut off (optional)
2 cups from a (32 ozs Beef, or Vegetable Broth)
4 Tablespoons extra virgin olive oil
1 Tablespoon Worcestershire Sauce

Remove beef from plastic bag, wash and pat dry if bloody. In a 9x13 in. baking pan, or a small roasting pan, arrange the beef in the middle, empty the packet that has the seasoning spices, and rub it on top of the beef, patted down well, so it doesn't slide off. Sprinkle the extra virgin olive oil on top, and pat it down firmly. Arrange the vegetables around the pan, and also the garlic with the top cut off.

Sprinkle 1 Tblsp. of the oil on the garlic head and the rest, sprinkle around the vegetables. Add 1 cup of the broth around the vegetables, cover with Aluminum foil, and with a sharp knife slash some vents on the top of the foil.

Roast, or bake at preheated 425 degree oven for the first 25 minutes, remove the foil, and add the other 1 cup on top of the beef, and around the pan over the vegetables, but not the garlic. Lower temperature to 350 degrees...bake for another 30 minutes covered, and remove the aluminum foil....and bake for an additional 30 minutes uncovered until it gets a nice crust on the top and vegetables are roasted nicely. Let the roast rest for 15 minutes and slice across the grain. Serves 6-8 generously


Linking to:
Full Plate Thursday #372


Wednesday, March 14, 2018

Learn To Cook: How to Make Fresh Pasta (Homemade Fettuccine)


"Get to the chase"...a favorite saying of mine! OK we're there! I have these photos of some of the process in my fresh pasta making from a few months ago, and decided to do a post on it. Instead of showing the video at the end, it showed up on the actual beginning, by googling ...'how to make fresh pasta' to show you, instead of me explaining step-by-step!

So, this is my pasta sheets without seeing the video, but now I see my mistake where I should've cut the pasta strips straight across to make even to feed into the machine...but, no worries, it still worked feeding it into the machine to stretch the dough out to the right consistency.

Homemade Pasta from 2010, and other memories!


When you finish the pasta strips, you are ready to stack them into little nests and let them dry like that...no need to hang them on a rack, unless you make a lot and plan to freeze them, which is way too much work. Just make enough for one serving, enough for 4-6, which is plenty. I actually made a double batch recently when we had family visiting from Italy!

Pasta Fresca...versus Pastasciutta...that is the question?

Fresh, or dry pasta...should not even be the 'question', because there is no such question here in the U.S. asking, which one you prefer to eat. Hahh?...why would you even want to ask...only in Italy they ask; as far as I remember it wasn't like that 30 or so, years ago! Either way, you have to boil both type of pastas and serve them topped with sauce of your choice! When I first heard that term a few years ago...'Pastasciutta'...literally, 'dry pasta'...now why are you asking me if I want to eat 'dry pasta'!?...so insane, so not correct...we all know you're not gonna run into the kitchen at that point and start making a batch of 'fresh pasta' if that is what I would prefer to have...so why are you asking me if I would like to eat Pastasciutta! OK, I made my point, I think...go figure, only in 'Italy'! Mangia, mangia ! Basta parole! (enough words)
Pastasciutta=Dry Pasta
Pasta Fresca=Fresh Pasta


Linking to:
Full Plate Thursday, #371

Wednesday, March 7, 2018

Crespelle con il Ragú=Italian Pancakes(Crepes) Filled with Meat Sauce


Since I've been MIA...totally 'missing in action', I've still been 'cooking my heart out'...just not focusing on food photos, snapping a few pictures here, and there, so to speak! One recipes that really got my attention was the Crepes with the Bolognese meat sauce which truly is a classic from the 70's...a vintage sauce that never goes out of style!

As for the photo...please excuse the unprofessional presentation of what should have been nicer if I focused more on the presentation knowing that I would post it on my food blog!


 So, here's the finished product of the Italian comfort casserole of the Crespelle con il Ragú, that is a famous vintage recipe from non other than Marcella Hazan the Queen of retro 70's and 80's and into the 90's cookbook author whom we worshiped back in the 'good old days'! I still have 4 of her 6 books and still cherish them. She passed away in 2013, but her Facebook profile still lives on by her beloved husband, Victor! She is truly loved and missed by us all, still learning so much technique and followed her recipes!


Crespelle con il Ragú
Italian Pancakes filled with Meat Sauce
source: The Classic Italian Cookbook
~Marcella Hazan

for 4 persons

1 1/2 cups meat sauce, Bolognese Style
1/2 cups plus 2 tablespoons Béchamel Sauce
1/4 teaspoon nutmeg
Crespelle (Italian Pancakes=Crepes)
1/2 cup freshly grated Parmesan Cheese
2 tablespoons butter

1. Draw off all the fat that floats to the surface of the meat sauce, then combine 1 cup of the meat sauce with 2 tablespoons of béchamel and the nutmeg in a bowl.
2. Preheat oven to 450 F.
3. Stuff the crespelle (fill and roll up) and arrange them in a lightly buttered flameproof bake-and-serve dish, following the directions of the preceding recipe.
4. Mix the remaining 1/2 cup meat sauce with the 1/2 cup béchamel and spread it over the crespelle. Sprinkle with the grated cheese, dot lightly with butter, and place in the uppermost level of the preheated oven for 5 minutes, then run under the broiler for less than a minute, until a light crust has formed. Allow to settle for a minute or so, then serve from the same dish.

In order to properly assemble this recipe, you will need Marcella's recipe...

Classic Bolognese Sauce by: Giuliano Hazan (Marcella's son)
 Marcella's Béchamel Sauce...by Giuliano Hazan

You will need Marcella's Crespelle recipe...

Crespelle:
1 cup milk
¾ cup flour
2 eggs
1/8 teaspoon of salt

Put the milk in a bowl, and sift in the flour, whisking to remove any lumps in the mixture. Beat the 2 eggs in a separate bowl, then whisk to incorporate. Season with salt. Place the bowl in the fridge for an hour. When you’re ready to cook the crespelle, put a non-stick pan over medium heat, and coat with non-stick spray (or use butter). Ladle between 1/8 and ¼ cup of the batter into the center of the pan, swirling to spread the batter in a circle. Cook for about 45 seconds/side, until they start to get some color on them.


Sharing a photo of the actual Crespelle Bolognese by:Gavin's Cooking...

We salute you Marcella, and you will stay in our hearts with your famous Classic Italian recipes that will live on throughout generations!💖

Photo source:New York Times, in honor of Marcella Hazan's famous classic Bolognese Sauce
on... PINTEREST


 Linking to: 
Full Plate Thursday#370


Monday, February 19, 2018

Banana Oats (raisins) Mini Breads

Before I even get started with my 'thrifty' recipe...I have some splaining...explaining to do. If it weren't for my awesome 'thrift finds' useful and new...yes new wares because people buy these beautiful wares, keep them around or maybe use them once, and they donate it to Goodwill! I adore these mini loaf pans and they have become so useful, especially during the holiday when I can make my quick breads and give some out as gifts to friends!
As a matter of fact, everything here in this photo is a 'thrift find'...except of course is the yummy Banana Oats Mini Breads! The mini loaf pans, the round table mat, and the pretty 'milk glass plate'...all for the use of taking photos for my blog...yesss! As for the price on these items...you would not believe, because they are 'dirt cheap'. Goodwill Industries in our area in West Palm Beach has a huge donation every single day, and a tremendous turnover. From simple every day folks to the wealthiest people pull up in their Lexus and Jaguars, shop there!

Getting back to the Banana Oats Mini Breads...there isn't a day that I don't have bananas hanging around in my fruit bowl...if not, I run out the next day to get some. They get overripe so quickly and I make sure I use them up or freeze them, so I'm actually never without them. As for the recipe, I just did my basic quick bread, and figured out the rest this time with 4 ripe bananas!

Banana Oats (raisins) Mini Breads

1 1/2 cups all purpose flour
1 cup Quaker Quick Cooking Oats
1 teaspoon baking powder
1 teaspoon baking soda
1/2 teaspoon salt
1 teaspoon cinnamon powder
2 whole large eggs
1/4 cup canola oil
1/2 cup light brown sugar
1/4 cup cane sugar
4 ripe bananas
1 cup raisins, or any other dried fruits (optional)

In a large bowl, add the flour, the oats, baking powder, baking soda, the salt, cinnamon powder and stir together. In a smaller bowl, mash the bananas, add the oil, the eggs, brown sugar, cane sugar. Stir to mix by hand with a wooden spoon, and beat lightly with a whip for a few minutes until they are well combined. (Do not over whip!)

Spray Mini Loaf Pans, or 1 regular Loaf Pans with cooking spray and spoon to 3/4 full. Sprinkle the Oats Streusel (optional) on top and bake. Cool for 15 minutes and turn out. They will slide out easily!
Baking temperature time for both type of loaf pans:
For Mini Loaves...350 degrees for 20 min. and an additional 15-20 min. on 325
For large loaf pans...350 degrees for the first 30 min. and additional 25-30 min. on 325 degrees. (these timings and temperatures are 'tried and true' and never fails)

Streusel Oats Topping

1/2 cup butter, or vegan butter (for dairy free)
1 cup light light brown sugar
3/4 cup quick cooking oats
3/4 cup all purpose flour
1/2 teaspoon cinnamon
1/4 teaspoon salt

In a medium mixing bowl combine all the ingredients except the butter.
Cut butter into mixture with pastry blender, and mix together until mixture resembles coarse bread crumbs. Spread crumbs with a small teaspoon evenly on top of the Banana Oat Breads, and bake according to time and oven temperature!

Note: I noticed other Streusel Oats recipes that do not recommend quick cooking oats...well, that's not so true! I do have both type of Quaker Oats, Old fashioned, and Quick cooking. I buy both kind, especially when it's buy one...get one free in our supermarket! I save the Old fashioned oats for crunchy oatmeal cookies, or cook for breakfast!

Last but not least: I have been photographing my foods with my Android Samsung Cell Phone camera for the last 2 years...rarely use my regular Nikon camera which I paid for over $400. five years ago. I thought myself to learn how to take food photos back in the days when I started with my food blog along with my flood blog friends. Now days practically no one drags along their real camera to take picture anywhere...unless you are a pro, and set out to take some real serious photos!

Last: Lesson learned...to think that I was gonna stop blogging until I buy a more expensive up-to-date camera; no way!

Have a nice week ahead my friends, please come and visit my blog, I'm still here!
Hugs,

Linking to:

Full Plate Thursday #369

Monday, February 5, 2018

Roasted Cherry Tomatoes

I must admit, that I have this passion for tomatoes, mostly red ripe tomatoes whether they would be the large beefsteak, the Roma, or the cherry and even more cute little succulent sweet grape tomatoes, which I have used in this recipe for my Roasted Tomatoes, although the recipe I followed was Cherry tomatoes!
The best part of these yummy tomatoes, is that you could roast them in a 'jiffy' at a high temperature whole, in one of your nice ovenware casseroles, especially a clean white ceramic casserole to show it off...from oven, to table. You just have to add some fresh chiffonade cut basils. (chiffonade=a few leaves of basils stacked up and rolled up in cigar fashion, and sliced thin)
What I love about these little beauties, is that you can dip some crusty baguette or rustic Italian bread pieces to dip in and sop up all the juices from the tomatoes, fresh garlic and olive oil, to make it a perfect rustic appetizer. Also, you can combine fresh angel hair spaghetti and it will make a perfect meal with a side salad! Can't brag enough about this amazing roasted tomatoes, so I will just share the recipe with you that I got from Ina Garten...enjoy!

Roasted Cherry (or grape) Tomatoes


Preheat the oven to 400 degrees F.
Toss the tomatoes lightly with olive oil on a sheet pan. Spread them out into one layer and sprinkle generously with kosher salt and pepper. Roast for 15 to 20 minutes, until the tomatoes are soft.
Transfer the tomatoes to a serving platter and sprinkle with basil leaves and sea salt. Serve hot or at room temperature.

Friday, January 19, 2018

Venison Stew with Potato Balls

After a long absence from my blog, I decided to return or just leave things the way they are...which is the wrong choice. Eight years have passed and things have changed so much on social media but I do feel proud to have accomplished so much not to give it all up!

I have several photos of great dishes I've made since my absence and would like to share them with you. While enjoying my Christmas vacation along with my daughter and grandchildren staying with family in Ohio, I did prepare some nice dishes since it's my second home and I enjoy feeling home and comfortable in the kitchen.

I must admit, venison is not on my favorite list of meat to prepare, but since I was asked to prepare something, I decided on a stew. There are three types of meats that I would rather stay away from cooking, is venison (poor 'bambi') lamb, and rabbit...each of these 3 I have witnessed being butchered, so I have a difficult time preparing them to be eaten! So that narrows things down to occasional beef, and pork...chicken is still on my list, and of course seafood as well! So, I will share the recipe with you how I prepared the Venison Stew...so northern style and for sure not something we make here in S. Florida for sure. We don't hunt...we fish!

Venison Stew with Potato Balls


1 large onion chopped
3 cloves of garlic minced
3 carrots scraped and chopped
3 stalks celery diced
4 Tbsp extra virgin olive oil
32 oz. vegetable broth
1 yellow hot wax pepper sliced (opt.)
salt, and pepper to taste
2 Tbsp Hungarian hot, and/or sweet
Paprika
3 - 4 1/2 lbs. venison cubed to 1 inch
pieces

In a large deep skillet, or dutch oven, on medium high heat, add oil and the chopped onion, garlic, celery, carrots, and yellow hot wax pepper, until onions are soft. Add the Hungarian paprika, and add about 1/4 cup of the broth. Stir and let it cook down until it thickens. Add the cut up venison cubes, stir and let it cook down until all is incorporated with the paprika mixture. Add the broth, cover with lid and let it simmer on med-low heat for at least 1 1/2 to 2 hrs until sauce is thickened, and meat is tender.
4-6 servings

For the Potato Balls

4 med potatoes peeled and diced
2 to 3 cups all purpose flour
2 eggs lightly beaten
salt and pepper to taste

Boil potatoes until tender


With a potato ricer, or in a food processor, mash the potatoes to a fine pulp


Mix together with the flour and eggs (not shown)


Lightly form into a large balls and with an ice cream scooper, scoop out equal amounts and form into balls.


Shape the balls into about 2 or inches round. Bring water to boil in a large pot and drop the balls into the rapid boiling water.


Potato balls should come to the surface and simmer for at least another 15-20 but no longer than that, or it will fall apart!
Scoop potato balls unto a platter with a large slotted spoon, and serve with the Venison Stew!
4-6 servings


Please Note: I've been having some serious issues with my comment section. I had 18 comments, and missing 8. I feel so bad because I have no idea what happened to the last 8 comments. Also, I'm not able to comment on most blogs, so I did leave comments on Google + on some of the comments, hoping that you would see them. I think the problem started when I tried to change and upgrade to a new look and lost some apps and content. I will try to work out these issues and try to comment on your blogs and reply back on mine as well! So sorry for not being able to comment on your blogs, but I will be contacting you one way or the other!
Hugs,
Elisabeth ...aka Liz, Lizzie, Eli, Elisa...Food and Thrift


Thursday, January 4, 2018

Cleveland Winter 2017

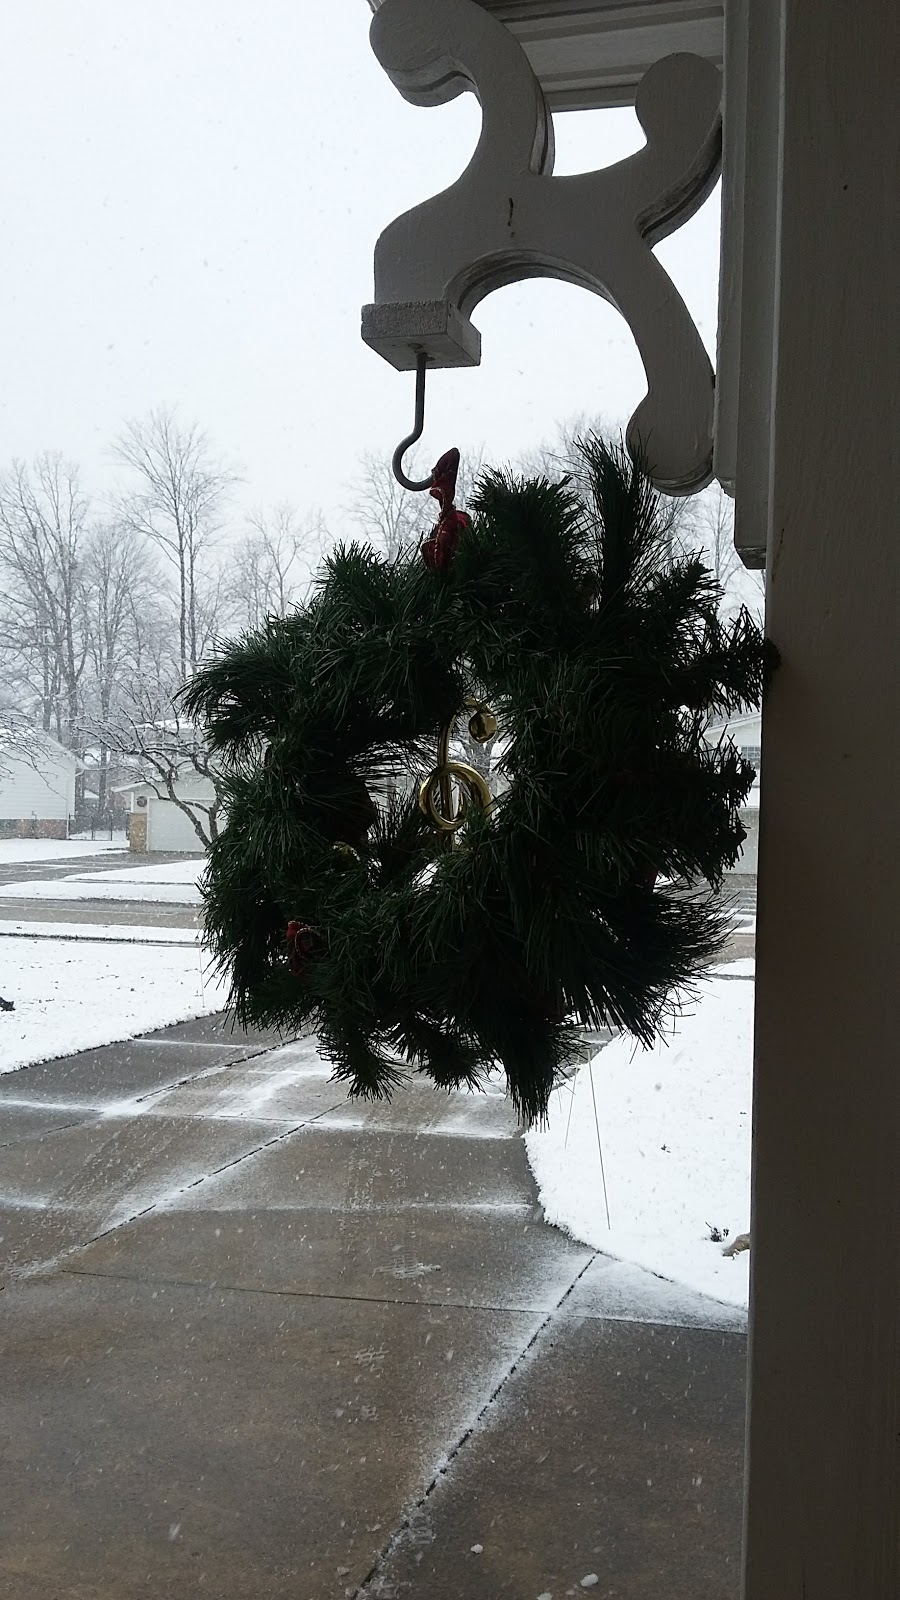
Hello my friends, I hope you all had a great holiday. I just got back from Ohio and I thought it would be nice to put together a post to show you all a series of snowy pictures, family gathering, and great food! I'll be back to post weekly, since that was my new year's resolution! I missed you all and I promise I will be more active on the blog (and at the gym ;) ).

Check out my granddaughter's post on Ohio!


This is my family property.


This is in Willoughby Ohio on Christmas Day


This is a vintage ceramic tree from the 70's

These are various homemade Christmas cookies
Me and Santa Claus selfie


This is the first day of snow before Christmas
This is at my friends house
Family Christmas tree

Thank you all for visiting my post, I would love to hear from you!

Wednesday, March 30, 2016

Carrot Cake with Cream Cheese Frosting

Spring has arrived, and so have Easter, which came early this year! What is more befitting than to make everyone's favorite Carrot Cake with Cream Cheese Frosting...and the best part is to top it off with Shredded Sweetened Coconut, and the best...of the best part of this fabulous cake is
the Candied-Spiced Walnuts
which I happened to think of at the last minute! You can certainly skip the spice, and just go with the sweet, and crunchy glaze. Once they are dry and separated, it can be easy spread on the cake for decoration and an added yumminess that I guarantee will be the first to disappear before cutting the cake!


This was our first Easter holiday without family and friends, and not a very comforting feeling to all of a sudden just have a complete change. Just like from childhood, mine and yours perhaps, we can see the changes that are happening in our lives when it comes to the holidays that are spent with our loved ones and friends, and one day...everything changes, just like it did this year! Death of a loved one, family being separated from each other, dearest friends moving away across the United States whom you've been close to and spending the last 15 years each holiday, and now...gone, perhaps forever; very sad, but total reality which we must learn to adjust to!

Note: the only change I made to this recipe...I used 1 cup of canola oil (instead of 1 1/2 cup)...I omitted the sour cream. My addition was the shredded coconut, and the Candied Walnuts for decoration!

We have to appreciate everything in life...the small and simple things especially, family, friends, and our health, which is not to be taken for granted! Learn to be happy with ourselves, and one-another is the key to life's simple pleasures! I don't always have the energy or passion to cook and bake at home since this is what I have been doing for decades as a professional career, but I always make an exception to do my best for family and friends if the occasion calls for it. No holiday has gone by without my contribution to a special occasion, and that will always go on as long as I can physically make it happen. It brings me joy, and contentment to see the smiles on the faces of the people I love!
As the lyric of the song goes..."I beg your pardon, I never promised you a rose garden"...we are not promised a rose garden, but we can certainly enjoy one, especially this particular one from 2 years ago when I visited extended family in Como, Italy. Could not believe my eyes, and how much joy it gave me to enjoy this beautiful little rose garden on a tiny little balcony overlooking a spectacular tall mountain, so actually I fared better, and I was promised a 'rose garden' ...and much more than that...love and devotion from a beautiful Italian family!
This beautiful white rose was from 'the actual' rose garden of Teresa...she so lovingly takes care of them, and they in return give so much peace and beauty for all eyes to gaze upon them!
I picked these gorgeous roses from the rose garden to put them in water, to enjoy!

As another saying goes..."stop and smell the roses"...yes indeed, you should take time to stop and smell the roses, whenever, wherever you might get the chance to do so. The only ones that really matter with such a beautiful perfume fragrance of their own are the ones that are naturally growing in a garden, and when you get the chance, don't pass them by!

I feel so blessed to have this opportunity to enjoy 'life's simple pleasures'...like this gorgeous scene looking out from the back of the house...never, ever, pass up the opportunity to find beauty in nature which are the simplest gifts from nature. You will never see the most beautiful healthy and the tallest pine trees, like in northern Italy, in the Como, and Lago di Como region. I was fortunate to spend 2 weeks there and loved every minute of it. I am so happy to share this with all my blogger friends!